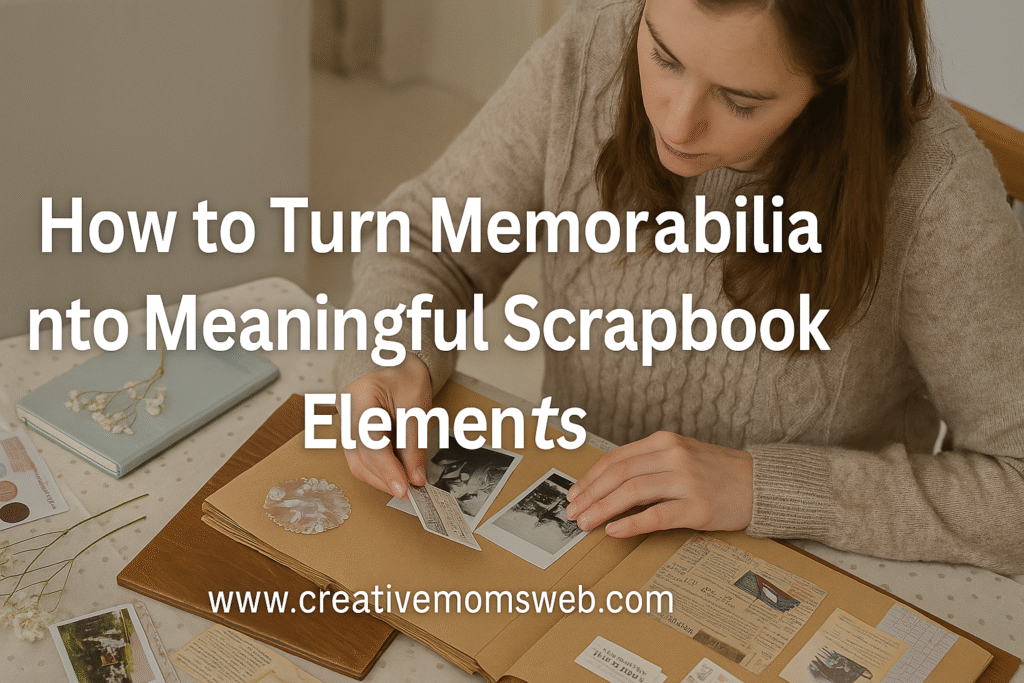
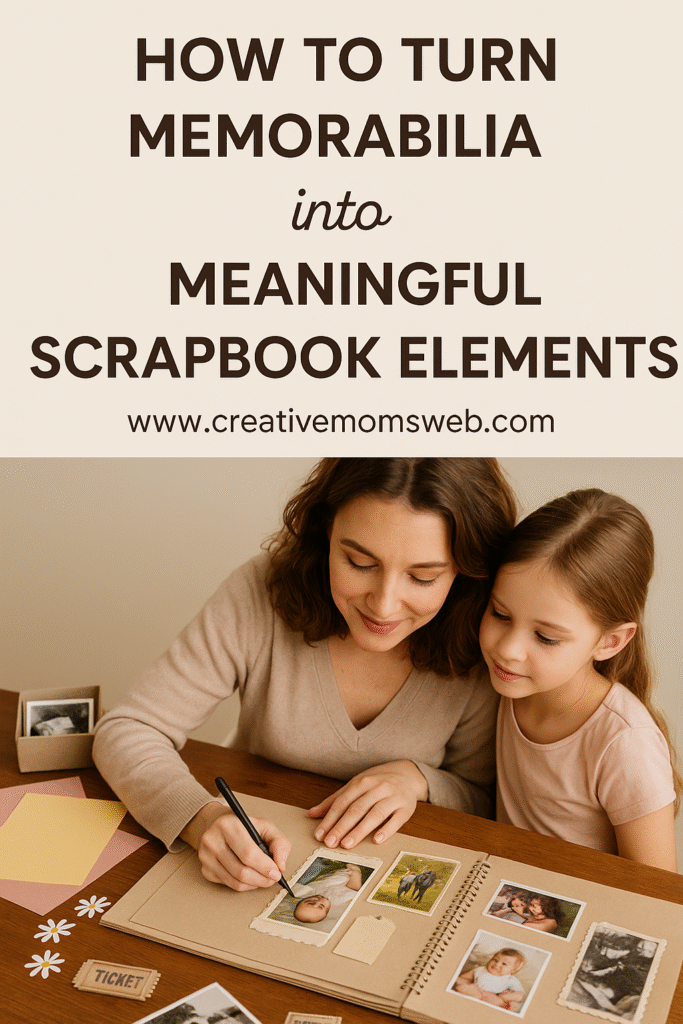
Scrapbooking is more than just arranging photos and decorative papers—it’s about preserving memories that tell your story. One of the best ways to add depth and authenticity to your scrapbook is by incorporating memorabilia. From ticket stubs to handwritten notes, these small keepsakes hold powerful emotions and transform your scrapbook into a personal treasure chest. Here’s how you can turn everyday memorabilia into meaningful scrapbook elements.

How to Turn Memorabilia into Meaningful Scrapbook Elements
1. Collect and Organize Your Memorabilia
Before you start crafting, take time to gather the pieces of memorabilia you’ve saved over the years. These can include:
- Tickets: Concerts, movies, sports games, and travel boarding passes.
- Letters and Cards: Birthday cards, love notes, or postcards.
- Event Items: Wedding invitations, baby shower favors, or holiday programs.
- Nature Finds: Pressed flowers, leaves, or seashells.
Sort them by theme or event so you can easily pair them with related photos and stories.
2. Preserve and Protect Your Keepsakes
Many keepsakes are delicate and prone to fading or damage over time. To keep them looking great:
- Use acid-free sleeves or pockets for fragile items like old letters or photos.
- Laminate small paper memorabilia (like tickets) to prevent discoloration.
- Scan and print duplicates if you want to preserve the original separately.
3. Create Layered Layouts
Memorabilia adds texture and character to scrapbook pages. Here are some fun ways to incorporate them:
- Ticket Borders: Use travel or concert tickets as borders around your photos.
- Letter Backgrounds: Layer handwritten letters or postcards behind a focal picture for a vintage touch.
- Pressed Nature Accents: Frame dried flowers or leaves as natural embellishments.
Tip: Pair memorabilia with themed paper, stickers, and washi tape to highlight its story.
4. Turn Memorabilia into DIY Embellishments
Memorabilia doesn’t have to remain flat—transform it into unique design elements:
- Paper Cutouts: Cut shapes (like hearts or stars) from meaningful programs or cards.
- Photo Frames: Use old maps or brochures to create custom picture frames.
- Tags and Journaling Cards: Repurpose gift tags, labels, or small packaging as journaling spots.
5. Add Journaling for Personal Connection
Every piece of memorabilia tells a story, but don’t forget to write why it matters. Include a short note, memory, or date next to the item. For example:
- “This was the ticket to our first family road trip in 2015.”
- “A flower I picked during our anniversary hike.”
This turns your scrapbook from a visual gallery into a heartfelt narrative.
6. Use Pocket Pages for Extra Storage
Some items, like menus or folded letters, may not fit neatly on a single page. Pocket pages or envelope inserts are perfect for holding bulkier keepsakes while keeping your layout clean and organized.

Amazon Recommendations for Scrapbooking Memorabilia Supplies
Here are some affiliate-friendly products to help you beautifully preserve and showcase your memorabilia:
- Acid-Free Scrapbook Sleeves – Protect delicate keepsakes like letters and tickets.
- Corner Punch and Trimmer Set – Create neat edges for tickets, cards, and other cutouts.
- Clear Pocket Pages – Store larger memorabilia like brochures and programs securely.
- Decorative Washi Tape Set – Add colorful borders and secure small items stylishly.
- Archival Glue Dots – Safely attach delicate pieces without damaging them.
Final Thoughts
Turning memorabilia into scrapbook elements is a creative way to preserve life’s little treasures. Whether it’s a concert ticket, a pressed flower, or a handwritten note, these pieces bring your scrapbook pages to life with real stories and emotions. Take time to thoughtfully organize, protect, and showcase your keepsakes—and your scrapbook will become a cherished family heirloom.

