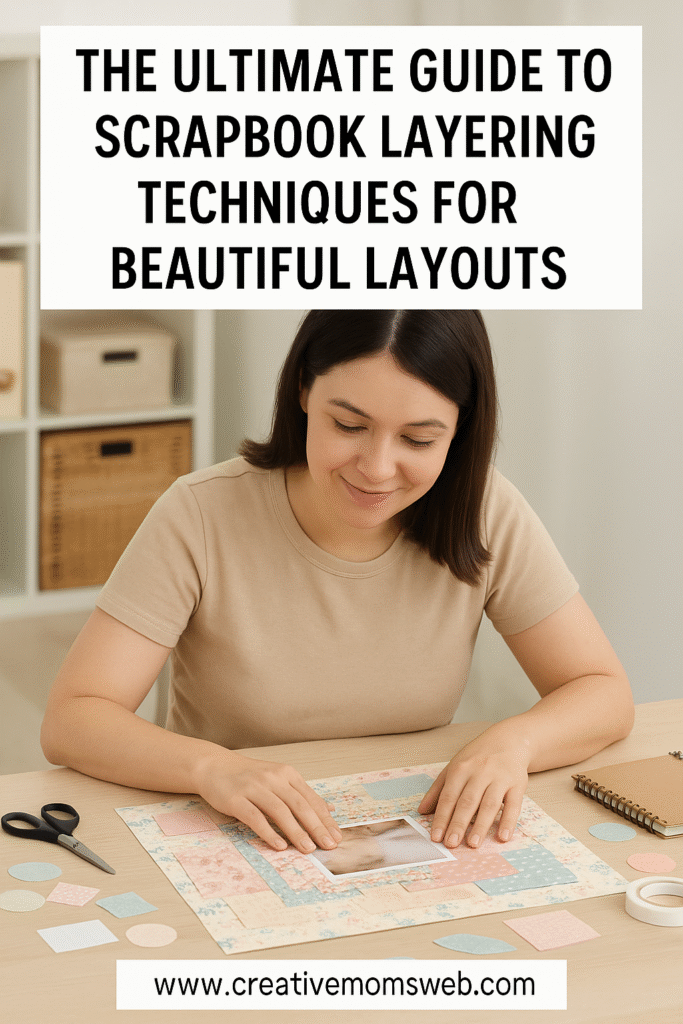
Scrapbooking is more than just placing photos on a page — it’s an artful way of telling a story. One of the most creative ways to add interest and dimension to your scrapbook layouts is through layering. Whether you’re a seasoned crafter or just starting, learning how to layer effectively can take your scrapbook pages from flat to fabulous!
In this post, I’ll share simple and inspiring layering techniques that will bring your scrapbook pages to life with texture, depth, and visual appeal.
Why Layering Matters in Scrapbooking
Layering adds:
- Visual interest: Keeps the eye moving across the page
- Dimension: Gives a 3D effect that makes elements pop
- Storytelling power: Enhances the theme or mood of the layout
- A personal touch: Each layer can reflect your unique creativity
Scrapbook Layering Techniques
1. Start with a Strong Base
Before you begin layering, choose a neutral or textured background paper. A subtle pattern, watercolor wash, or even kraft cardstock works well as a foundation for layers.
💡 Tip: Use a background that complements, not competes with, your photos and embellishments.
2. Use Mats and Frames
Add photo mats — solid or patterned paper slightly larger than your photo — to make your images stand out. Try stacking two or three different mats behind one photo to build up layers instantly.
Try using torn edges, inked borders, or distressed paper for an added vintage look.
3. Incorporate Patterned Papers
Mix and match coordinating patterned papers in various sizes and shapes. Layer rectangles, tags, circles, and banners behind your photo to create a playful or elegant vibe, depending on your theme.
Stick to a color palette of 2–4 colors to avoid overwhelming the page.
4. Add Texture with Fabric and Ribbons
Layer ribbons, lace, tulle, burlap, or fabric scraps beneath your photos or titles. These add both visual and tactile texture, creating a cozy, dimensional look.
5. Pop-Up with Foam Dots or Tape
Use foam dots or adhesive foam tape to raise certain elements like titles, embellishments, or die-cuts off the page. This creates shadows and a stunning 3D effect.
Layering flat and raised elements together makes your layout feel more dynamic.

6. Cluster Embellishments
Create visual impact by grouping embellishments such as:
- Die cuts
- Stickers
- Ephemera
- Chipboard pieces
- Buttons or sequins
Layer them around focal points like photos or journal spots for balanced, cohesive designs.
7. Tuck and Peek Technique
Let elements “peek” from behind others — such as tucking a journaling card behind a photo or a tag sticking out from a cluster. This adds a sense of curiosity and depth.
Use staples or mini paper clips to attach tags for a fun, interactive feel.
8. Add Layers with Mixed Media
Use gesso, inks, sprays, texture paste, or stencils as your bottom layer. Let it peek through layers of paper and embellishments to add richness and artistic flair.
9. Don’t Forget Titles and Journaling
Layer titles over banners, labels, or mixed media backgrounds. Write journaling on layered tags or strips of paper to keep the storytelling element integrated into your design.
10. Balance and White Space
While layering is exciting, resist the urge to cover every inch. Leave some white space to allow the eyes to rest and highlight your focal points.
Final Thoughts
Layering is a powerful scrapbooking technique that helps your pages stand out and tell a story. It might look complicated at first, but with a bit of practice, you’ll be layering like a pro in no time. Remember — there’s no wrong way to layer! Trust your creativity and enjoy the process.
