If you’re interested in soap making but feel confused by the different methods, you’re not alone. Many moms want to start soap making at home but aren’t sure which technique is safe, easy, and practical for their lifestyle.
The good news? You don’t need to learn everything at once. In this guide, we’ll break down the main soap-making methods, explain how each works, and help you choose the best one to start with.
Why Understanding Soap-Making Methods Matters
Each soap-making method:
- Uses different ingredients
- Requires different skill levels
- Takes different amounts of time
- Produces slightly different results
Knowing the difference helps you avoid frustration and choose a method that fits your time, budget, and confidence level.
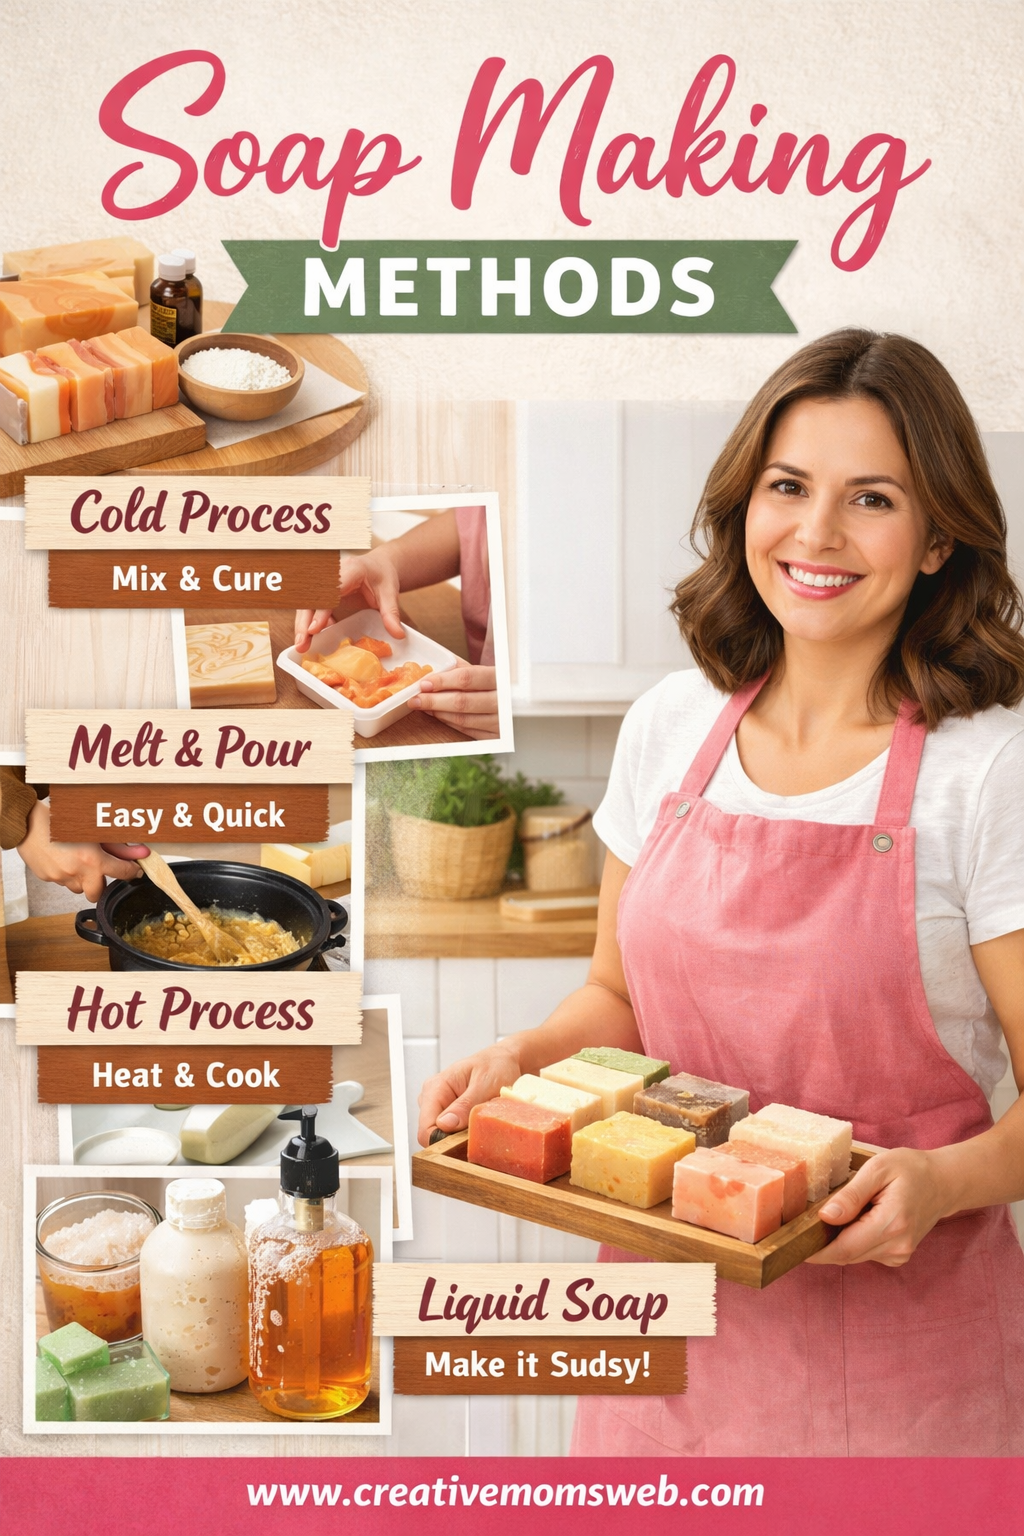
Main soap-making methods
1. Melt-and-Pour Soap Making (Best for Beginners)
What It Is
Melt-and-pour soap making uses a pre-made soap base that you melt, customize, and pour into molds.
Why Moms Love It
- No lye handling
- Safe and beginner-friendly
- Fast results (ready in hours)
- Perfect for busy schedules
Best For
- Stay-at-home moms
- Beginners
- DIY gifts and family use
👉 This is the recommended method to start with.
2. Cold Process Soap Making
What It Is
Cold process soap making involves mixing oils with lye to create soap through a chemical reaction called saponification.
Pros
- Full control over ingredients
- Custom textures and designs
- Long-lasting soap bars
Cons
- Requires safety precautions
- Longer curing time (4–6 weeks)
- More complex for beginners
Best For
- Moms ready to learn advanced skills
- Those interested in natural, custom formulations
3. Hot Process Soap Making
What It Is
Similar to cold process but uses heat (slow cooker or stove) to speed up saponification.
Pros
- Faster than cold process
- Soap can be used sooner
- Great for rustic, natural soaps
Cons
- Less smooth appearance
- Stronger smells during cooking
- Requires careful monitoring
Best For
- Experienced beginners
- Moms comfortable working with lye
4. Rebatching Soap
What It Is
Rebatching uses previously made soap that’s grated, melted, and reshaped.
Pros
- No lye handling
- Good way to fix soap mistakes
- Simple and forgiving
Cons
- Limited design options
- Texture can be rough
Best For
- Recycling failed soap batches
- Creative experiments
You might also like:
Quick Comparison of Soap-Making Methods
| Method | Skill Level | Lye Used | Time Required | Beginner Friendly |
|---|---|---|---|---|
| Melt-and-Pour | Very Easy | No | Short | ⭐⭐⭐⭐⭐ |
| Cold Process | Advanced | Yes | Long | ⭐⭐ |
| Hot Process | Intermediate | Yes | Medium | ⭐⭐⭐ |
| Rebatching | Easy | No | Medium | ⭐⭐⭐⭐ |
Which Soap-Making Method Should You Choose?
If you’re:
- New to soap making → Start with melt-and-pour
- Interested in full control → Try cold process later
- Want faster results with lye → Choose hot process
- Fixing old soap → Use rebatching
There’s no “right” method—only what works best for your current season of life.
Final Thoughts
Soap making doesn’t have to be complicated. Starting with the right method builds confidence and makes the experience enjoyable instead of overwhelming.
Begin simply. Learn gradually. And most importantly—have fun creating.
👉 Ready to begin? Visit our How to Start Soap Making at Home post for beginner guides, recommended supplies, and trusted tools to get you started.
🧼 Amazon Essentials for Soap-Making Methods
🟢 Melt-and-Pour Soap Making Essentials
Best for beginners and moms with limited time.
- Melt-and-Pour Soap Base (Shea butter, glycerin, goat milk)
- Silicone Soap Molds (various shapes and sizes)
- Soap-Safe Fragrance Oils
- Soap Colorants or Mica Powders
- Microwave-Safe Measuring Cups
- Rubbing Alcohol (99%) – removes bubbles on the soap surface
🔵 Cold Process Soap Making Essentials
Ideal for moms who enjoy creativity and natural soap recipes.
- Soap-Grade Lye (Sodium Hydroxide)
- Digital Kitchen Scale (very important for safety)
- Stick Blender (Immersion Blender)
- Heat-Resistant Mixing Bowls (stainless steel or heavy plastic)
- Thermometer (infrared or candy thermometer)
- Protective Gloves and Safety Goggles
- Soap Loaf Mold (Silicone or Wooden)
🟣 Hot Process Soap Making Essentials
Great for moms who want usable soap faster.
- Slow Cooker / Crockpot
- Stick Blender
- Heat-Resistant Spatulas
- Soap-Safe Fragrance Oils
- Soap Molds
- Kitchen Scale
🟡 Essentials Used Across All Soap-Making Methods
- Measuring Spoons & Cups
- Soap Cutter or Straight Knife
- Parchment Paper or Freezer Paper
- Drying Rack or Curing Tray
- Labels & Packaging Supplies (if gifting or selling)
🌿 Optional Add-Ons for Creative Moms
- Essential Oils Starter Set
- Natural Add-Ins (oatmeal, dried herbs, honey)
- Soap-Making Recipe Book for Beginners
- Notebook for Soap Recipes & Notes
You might like